Infinite-ISP Tutorial 3: Contributing to Infinite-ISP
Introduction
Infinite-ISP, an open-source project, provides a versatile platform for processing raw images. In this tutorial we’ll discuss how you can become a valuable contributor to our project by suggesting new algorithms or tuning/ improving the existing ones.
Before we dive in, make sure you have Infinite-ISP cloned and configured. You can find the installation instructions here in our basics tutorial: Tutorial 1: Getting Started with Infinite-ISP.
After cloning and configuring Infinite-ISP, create a new branch using the following command:
git checkout -b branch_name
Choose a branch name using:
- Small letters only
- Underscore character “_” to separate words
ISP Block structure:
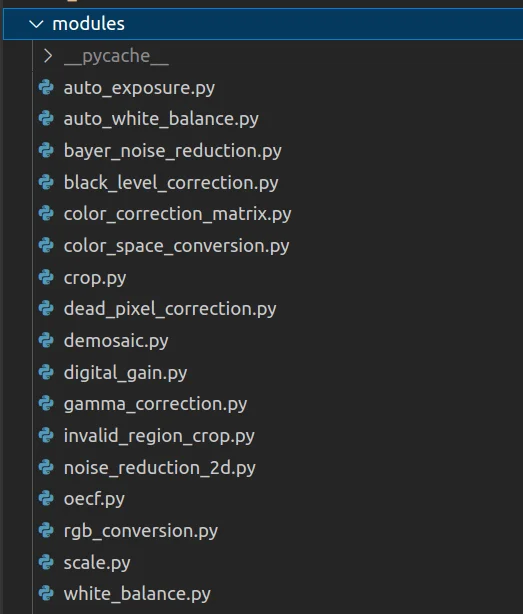
All blocks are implemented as python classes with some common class attributes and methods and can be found in the ./modules directory.
Each ISP block takes the image, sensor specifications and ISP block parameters from the config file as input. All block specific parameters are encapsulated within python dictionaries. Some common class attributes and methods along with their brief description are as below:
Common class attributes among different modules
| Class Attribute name | Description | Type |
| Image | Raw image from sensor or output of the previous block | ndarray with dtype uint16 |
| sensor_info | Sensor specifications from config | dict |
| parm_<module_name> | Module specific parameters from config file | dict |
| platform | contains configuration parameters that are not part of the ISP pipeline but helps in pipeline execution and debugging | dict |
| is_enable | Flag to enable/disable block | boolean |
| is_debug | Flag to printing detailed logs for debugging purposes | boolean |
| is_save | Flag to save block output | boolean |
Common methods among different modules:
| Method Name | Description | Arguments | Output |
| __init__ | To initialize class attributes | Img, sensor_info, module parameters, platform(for some modules) | None |
| apply_<block_name> | Method with algorithm implementation | Varies across blocks | module output ndarray with dtype uint16 |
| save | To save module output | None | None |
| execute | Calls apply method to execute a module | None | module output array with dtype uint16 |
ISP Block Implementation:
To add a new block to Infinite-ISP, first create a Python module in the ./modules directory. A good place to start is by replicating any existing block module and then altering it as needed. You’ll mainly need to plug your algorithm under the apply method keeping execute and save methods the same. While implementing your module, ensure that block input and output are uint16 ndarrays for seamless integration with Infinite-ISP pipeline.
Let’s add the sharpen block in Infinite-ISP as an example.
Implement Sharpen Block
For an easy start, I’ve copy and pasted the oecf.py file to start with as this implementation is the most similar to what the sharpen implementation is going to be, including a single apply function along with save and execute methods.
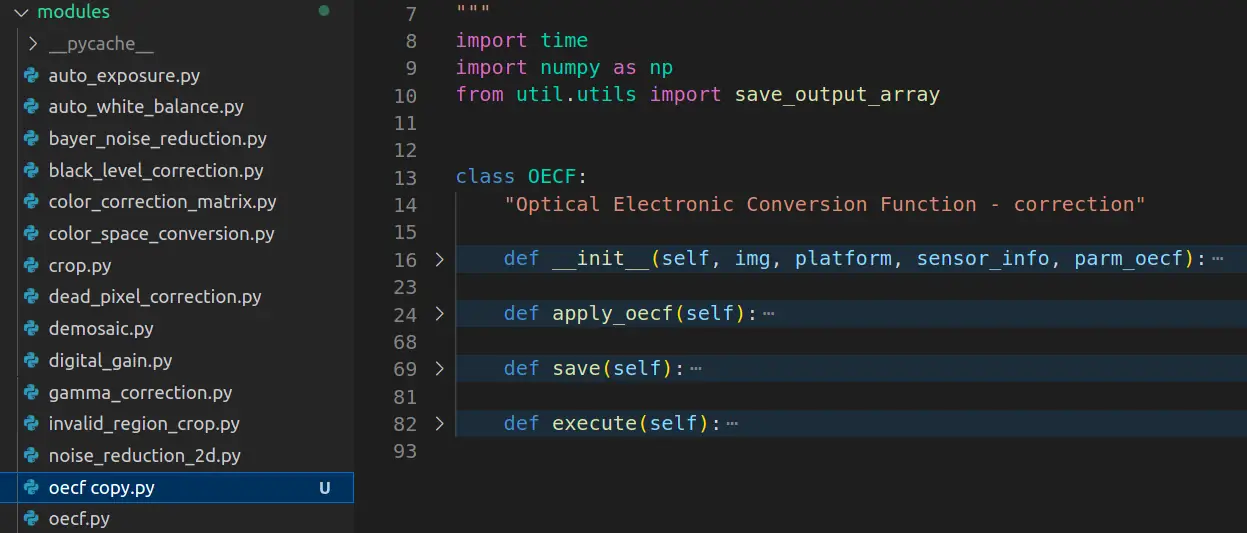
I am making the following changes in the fie:
- Renaming the python file to sharpen.py
- Renaming the class object and updating the doc strings
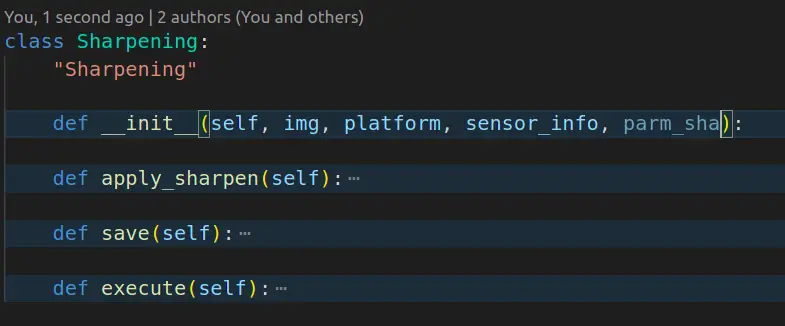
- Update the __init__ method
- Removing platform dictionary
- Replacing oecf by sha for sharpening

- Update the apply method:
- Implement a sharpening algorithm
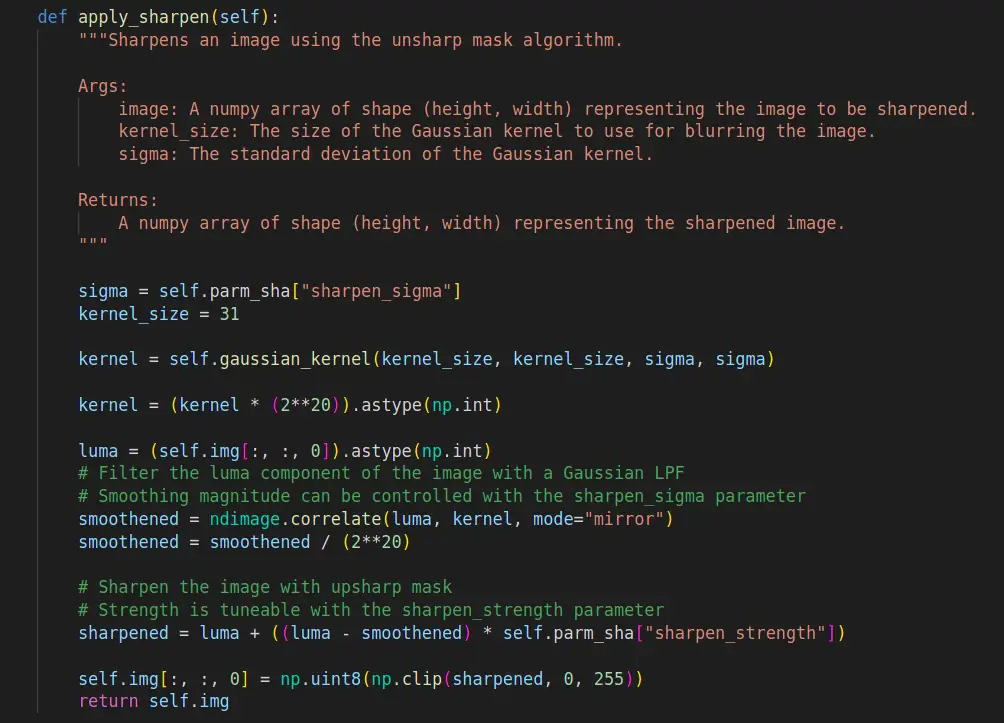
- Adding a helper function to generate a gaussian kernel for convolution to improve readability of the code.
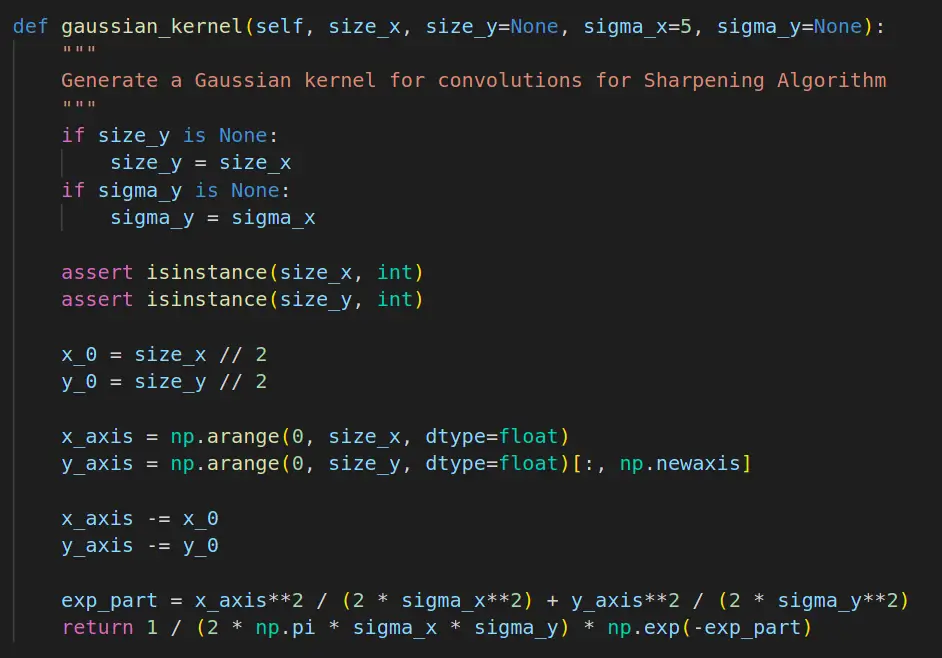
- Importing respective python libraries (is needed)

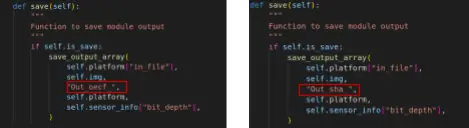
- Updating the filename tag in save method
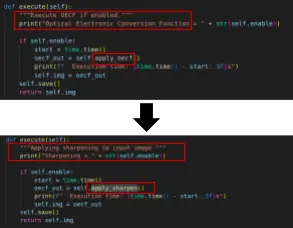
- Update execute method
Plug your ISP Block in Infinite ISP
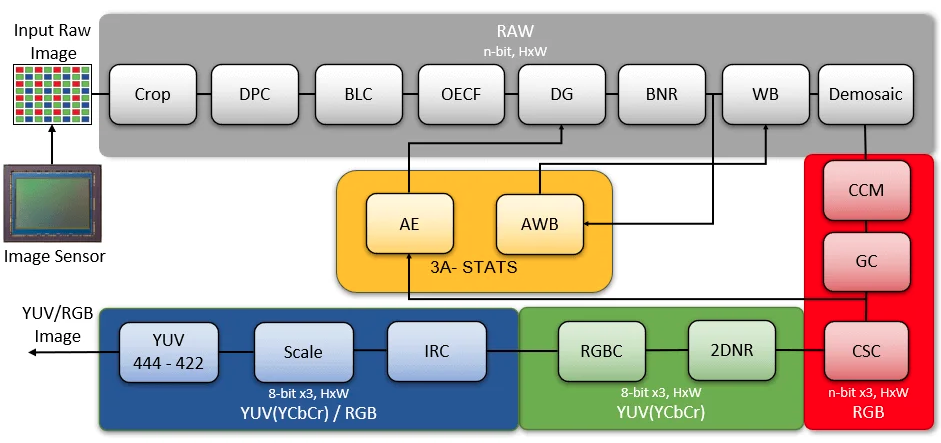
Position of your module in the pipeline using the context in which your module operates and interacts with various color spaces. The image below summarizes the working of infinite-ISP emphasizing transitions between color spaces. Add your module block in the default config file (placed at ./config directory) at the respective position. This step is not necessary but helps as a reminder of the pipeline sequence.
Next, modify the infinite_isp.py file to include the newly implemented module as a part of the infinite-ISP object. Following modifications are required:
- Import your module
- Modify the load config method to load your module parameters from config
- Modify the run_pipeline method:
- Place your module block in the pipeline.
- Pass the output of the previous module as input to the new module.
- Similarly, pass the output of this new module to the next module in the pipeline.
Checking the Results
Now that you have successfully integrated your ISP block into the pipeline, let’s see it in action. Enable your ISP block in the config file and run infinite_isp.py file. You can use the pipeline output or block output (using is_save flag) for visual assessment of the processed image or use some image quality metrics to compare results.
Here we can see that after adding the sharpening block to the pipeline, the Infinite-ISP output has improved in terms of image detail. The text of the top left corner of the MacBeth Color Checker chart is significantly more readable after sharpening. Other details and edges in the image also appear more sharper.
Code Formatting
Once you have resolved all errors and the module is working properly in combination with other modules you can work on the code linting to write clean and readable code. Pylint library is used for uniform code styling across the project. Install Pylint and pylint-runner using the commands below to see your score.
					pip install pylint
pip install pylint_runner
You can also use black library for a quick fix for minor changes like removal of extra white spaces automatically etc.d
pip install black
Run black and Pylint using the following commands
					black ./modules/<new_module>.py
pylint_runner
Refer to the suggested changes by Pylint to style your code. You can generate a pull request on GitHub once you have achieved a score 10.

Creating Pull Request
Complete your contribution to Infinite-ISP by creating a pull request and suggesting that the ISP pipeline block added by you be mainstreamed into Infinite-ISP.
Infinite-ISP is currently managed by the ISP Team at 10xEngineers, who will review and approve your pull request. We adapt the GitHub Project Contribution Workflow for open source contributions to Infinite-ISP. To learn more about creating and getting your pull requests approved, please follow the instructions in this document.